
Last year or so, I found a cute Christmas Tree Skirt panel and bought it to make my mother-in-law a tree skirt. When I got home, I panicked thinking I had no clue how to do that little circle in the middle except with bias tape. I really hate using bias tape around curves. I never get it perfect. After churning through ideas in my mind, I finally came up with an idea I could do instead...and it was so much easier.
My son loves loves loves Christmas...he's the kid who gets Christmas books from the library year round and keeps a mini tree in his own room. I needed to make him mini tree skirt. This method will also apply to larger tree skirts as well...I've used it on extra large, medium, and mini skirts with great results.

Here's what you need:
90" of binding (the photo is red, but I switched to a green binding in the tutorial, so I hope you don't get confused)
2 12" pieces of fabric
1 12" piece of batting


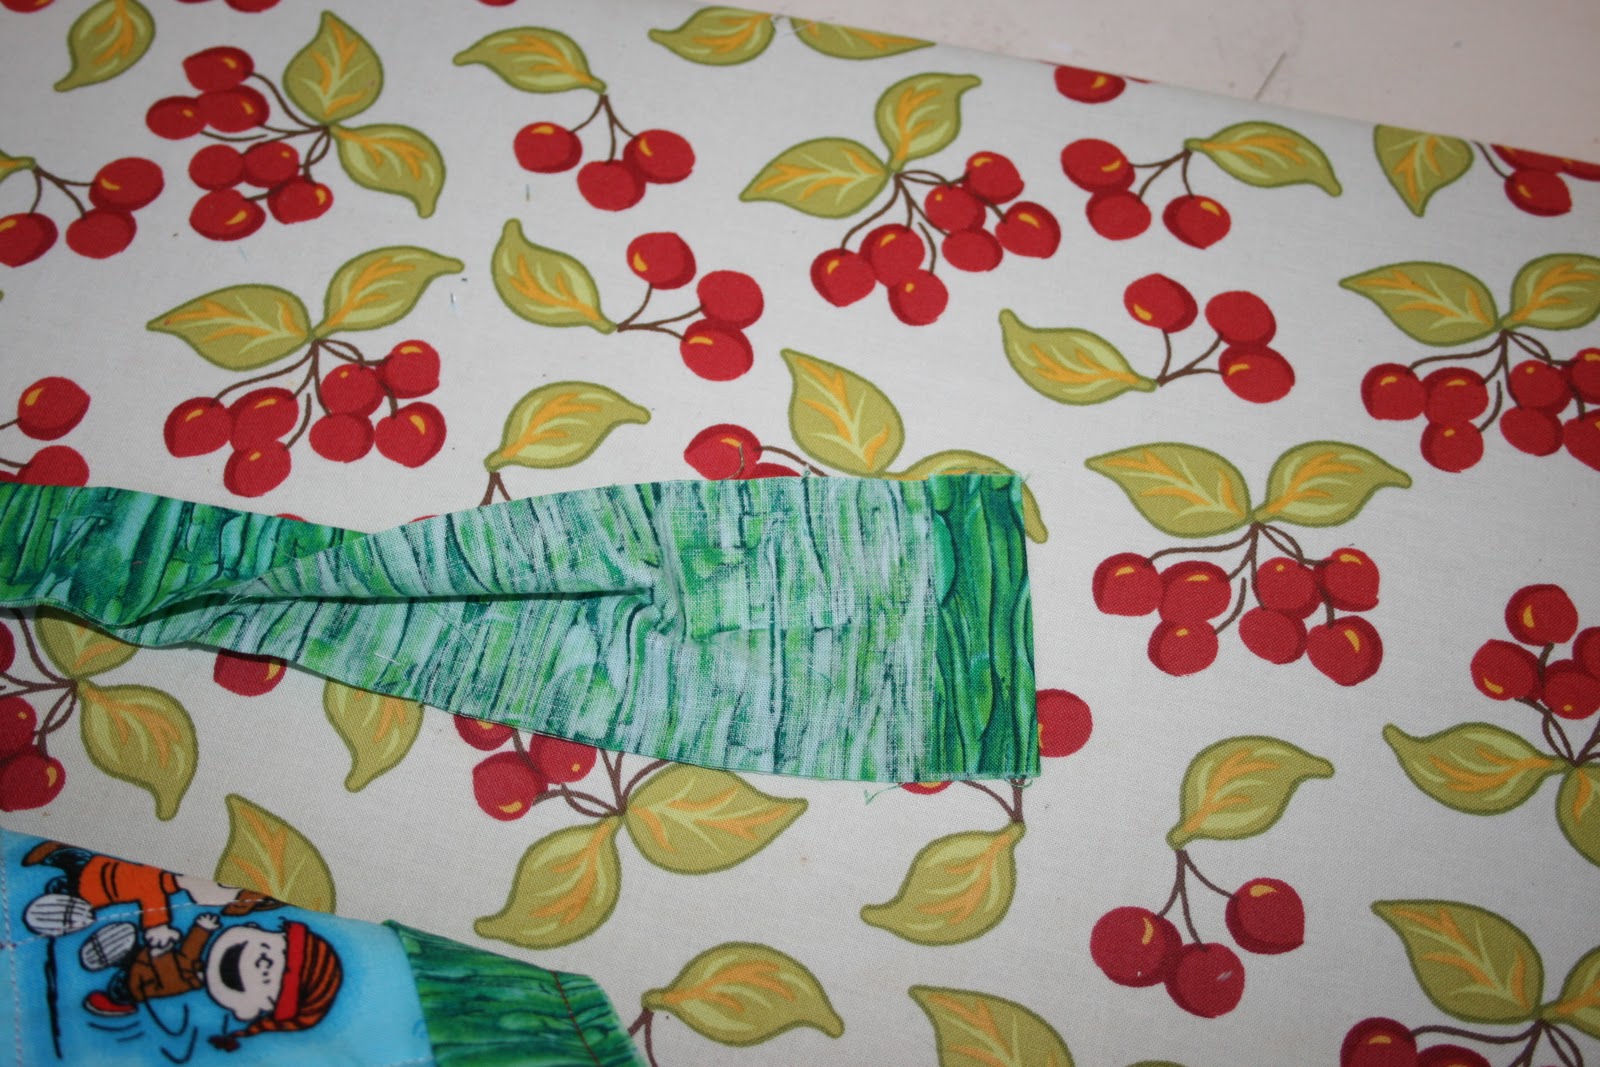
Use a ruler to mark an X in the center of your quilt.

Place the small part of your cup over the center X and trace around the cup. For a full size skirt, I would use the mouth end of a 32 oz cup (like you get at sporting events). Sew around the entire outline of your circle.


Use pinking shears and cut out your circle. The pinking shears are important b/c it will keep your seam nice when you turn it out.


Iron your fabric now and quilt as desired.


Now you can hand stitch your binding to the other side and you're done!
This is super easy I think it leaves a much cleaner look than bias binding (at least at my skill level!).
If you prefer a circular skirt, you can just sew the inside and outside circles pillowcase style and then pull everything out straight and use binding to close up your slit from the inner circle to the outer circle. Just remember to always use your pinking shears around the curves for best results.


this is absolutely awesome... I will have to print this out and follow it step by step to get it, but I may be able to do it... thank you for being so smart...
ReplyDeleteYou could use that red peanuts fabric you bought on clearance from Joann's last year and really spruce up your Charlie Brown tree.Just don't forget to sew around the circle before cutting...I didn't remember to take a pic of that step.
ReplyDeleteVery sweet with the cherries. Love the combination of fabrics.
ReplyDeleteThanks!
ReplyDeleteThanks for the great idea! I will be using this method to make a tree skirt this year.
ReplyDeleteCute tute! Thanks. I wouldn't have thought of doing it that way.
ReplyDelete