Recently we let the twins experience Build-A-Bear workshop. $57 later, we had 2 puppies going commando& 2 t-shirts. I was not feeling the $6 tiny shorts. I knew I could make that, and I did. I am NOT a garment sewist. I do quilts. I have made my boys a few PJ shorts from
the bandana shorts tutorial so I used the same principles to make shorts for our new puppy friends, changing a couple of things to accomodate a tail and the smaller size. This can be used for any stuffed animal, but the measurements might need to change. We also did blue jeans for my oldest son's favorite Ty Pluffie, L.E.Funt and it worked great.
Supplies:
Basic Sewing Supplies (needle, thread, scissors, machine)
Elastic
Fabric
Indecently dressed stuffed animal.
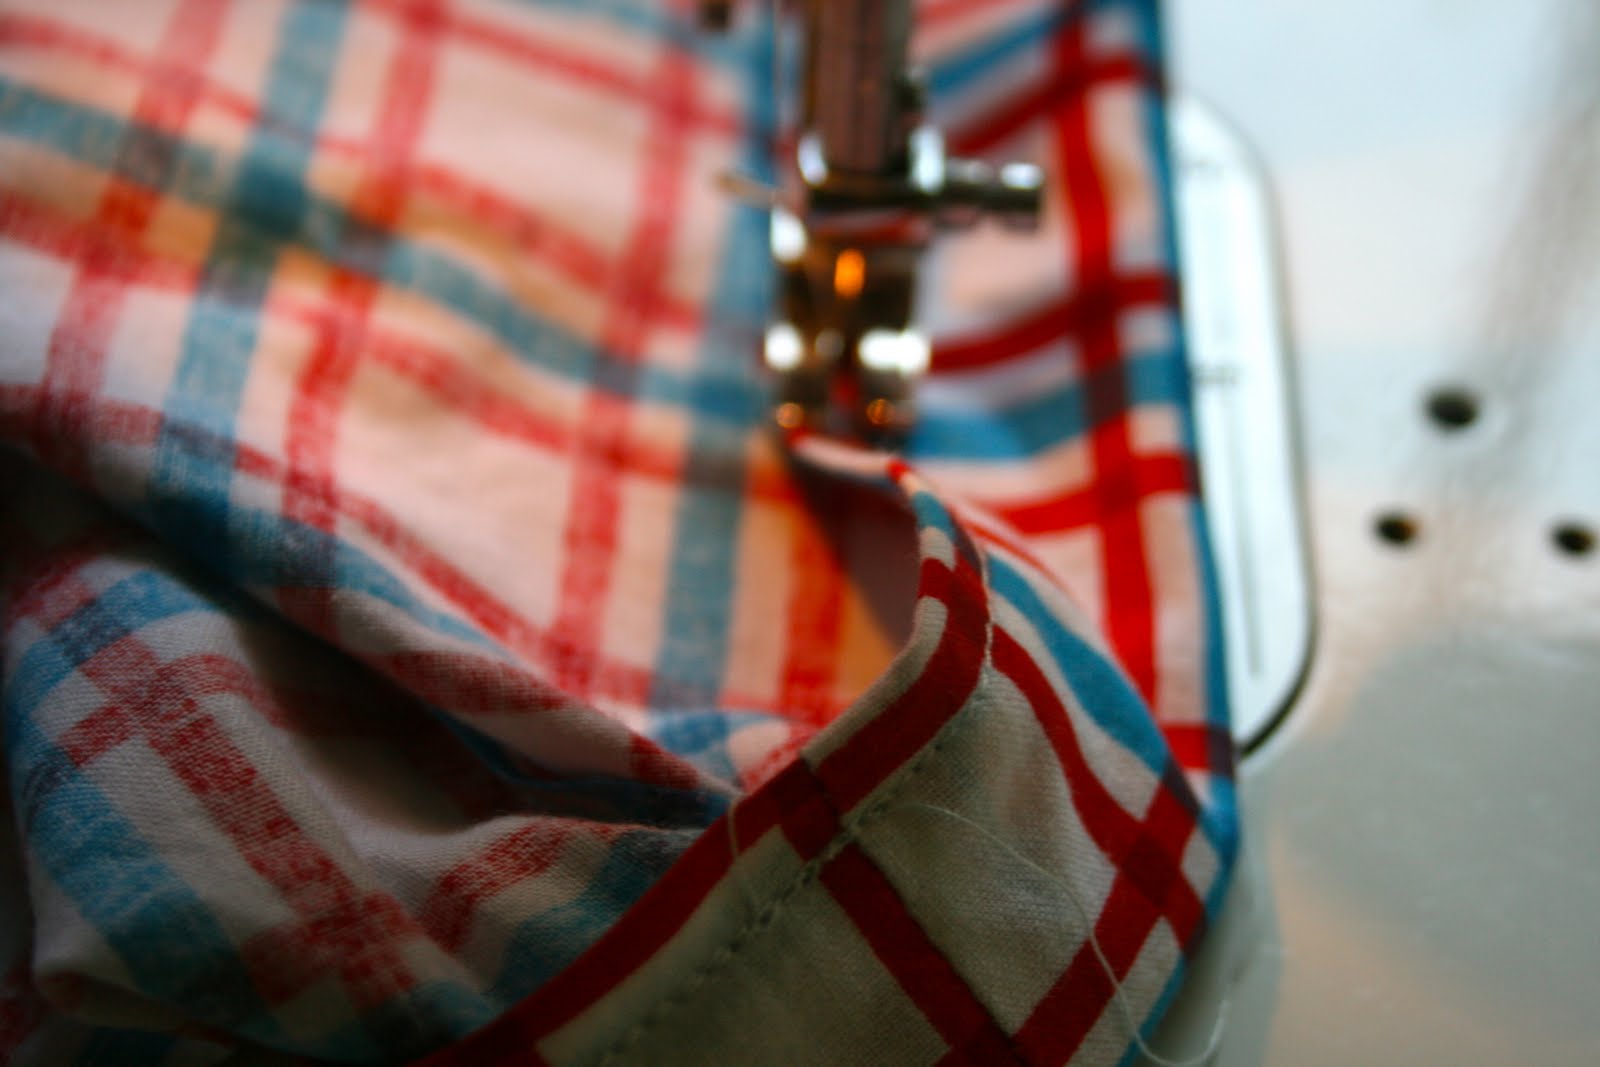
NOTE: To minimize fraying, you can serge or zigzag all raw edges. I didn't because frankly I was too lazy to bust out my other machine and I don't see my boys playing with these for too long anyway.
Our animals had an 18" waist and we wanted shorts that finished at 6.5" long or so. To do this we used 2 pieces of fabric that were 12.5" wide (would become the waist) and 9.5" long (would become the length. I guess what I'm trying to say is:
Desired length + 3" = legnth of each fabric piece
Animal's waist size divided by 2 plus 3"= width of each fabric piece.
Place the fabrics right side together. Choose one of the 9.5" side. Turn over each raw edge 1/2" and press.
Now turn each raw edge into the fold and press again. This conceals the raw edge where the tail will stick out.
Sew a seam the entire lengty on each piece to keep this raw edge enclosed.
Line up your pieces RSF (right side facing) once again with the finished edges touching.
Now fold in half lengthwise so your raw edge will be on top of your finished edge.
Cut out a small J shape through all four layers. I went in 1/2" and up about 2.5".
Unfold your piece. You will still have RSF, but now each side will have a little "J" shape cut out of it.
Sew a seam the entire length of your raw edge (do not sew the J at this time, only the straight portion.
On the finished side, sew down 3" from the top and stop. Backstitch to secure. Skip 2" down and backstitch then continue the seam to the end of the straight portion.
Now spread your shorts out so that the seams you just sewed are now in the middle. It's starting to look like shorts!
Sew up your J seam...now it looks like a U.
Turn the hems on the waist and legs, pressing first then stitching to secure. I enclosed the raw edges here like I did on the tail.
Turn over the top edge then fold it over 1.25" or so...just give yourself enough room to slide your elastic through. Press here to keep things neat. Sew at the bottom of your folded edge (I stitched on top of my top hem) BUT leave 2" unsewn so you have a space to pull your elastic through.
Backstitch at the beginning and ending of that seam.
Pull your elastic around your animal without stretching. Cut your elastic 1" from where the ends touch. This will give you a snug fit that will still be easy for small hands to manipulate.
Pull your elastic through. If you don't have an elastic guide you can use a safety pin to guide the elastic through the casing.
Sew a square (ok, mine's a rhombus or something crazy) where the ends meet. I backstitched a good bit on this, too. It's ugly but it's strong.
Sew those remaining 2" or so in the casing. Make sure you can't catch the elastic or gather your fabric.
Voilà! Puppy Pants. Or Bear. Or Kittie. Or Bunnie. You get the picture.
Here's Sloppy (Train Kid's name choice, not ours) sporting his $6 tee (shudder) and his FREE pants! He's also wearing a prototype cape (which meant that he was standing over me hollering "CAPE CAAAAAPE" so I threw this together so I could finish up).
Hey Sloppy...Cute Bootie!
Now I do quilts and not garments but if you shoot me a request for another article of clothing I'll be glad to try to do other stuffed animal clothing tutorials. I can't do fancy stuff, but I can at least do something easy enough that most people who aren't great at sewing could do as well.
Linking up to fabric tuesday at
Quilt Story
and
Skip to My Lou


This is so awesome! Be glad that you didn't buy the shorts because they don't fit. Chaney is always complaing about the shorts falling down on her bear and puppy. Thanks for not buying the $6 so you could do this tutorial!
ReplyDeleteJennifer :)
SEW cute!!!!
ReplyDeletewondermus'!!!!! A+ once again...!
ReplyDeletethis is SO cute!!! found this project on One Pretty Thing :)
ReplyDeleteThank you, thank you thank you
ReplyDeleteyou have saved my bacon!